

WW2 Aircraft Diorama Starter: Build It Right
- flightdeckmodels

- 4 days ago
- 6 min read
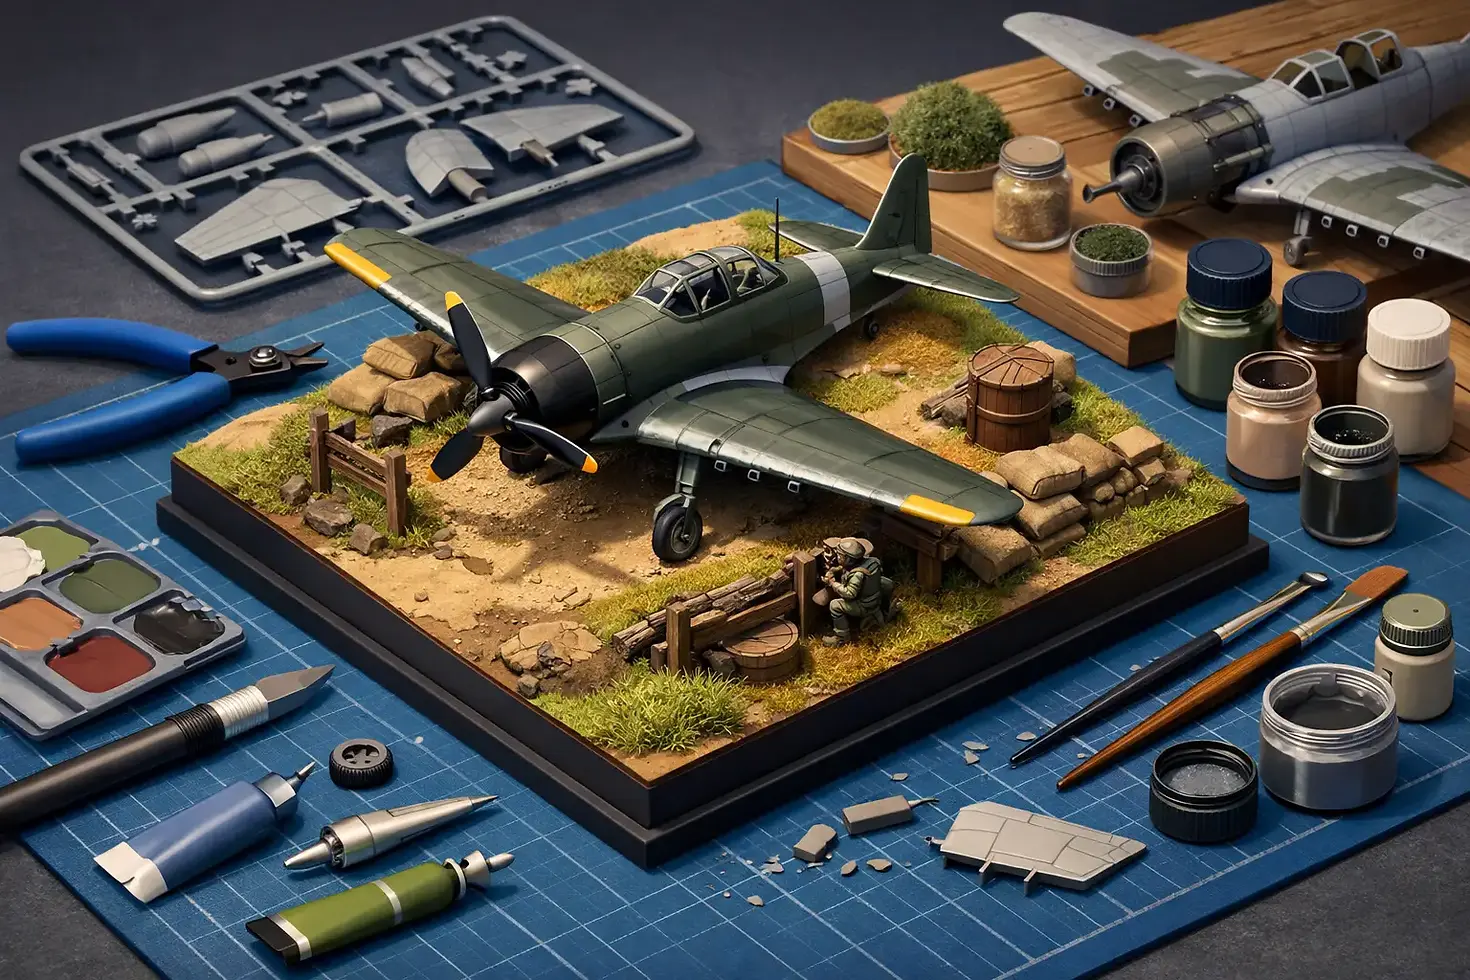
A great WW2 aircraft diorama starter does more than give a single aircraft somewhere to sit. It establishes a believable moment: a fighter being turned around after a sortie, a bomber awaiting its crew, or a maintenance team working against the clock on a forward airstrip. The aircraft is still the centerpiece, but the base, personnel, vehicles, and spacing give it the story collectors remember.
For a first scene, restraint is usually the difference between a convincing display and a crowded collection of accessories. Choose one aircraft, one operational setting, and one clear activity. Get those three decisions right, and even a compact base can have the presence of a museum display.
Choosing a WW2 Aircraft Diorama Starter
Start with the aircraft you want to display, not the accessories. A polished Mustang, weathered Spitfire, rugged P-47 Thunderbolt, B-17 Flying Fortress, or Avro Lancaster each suggests a different footprint and atmosphere. A single-engine fighter looks at home on a small dispersal area or grass strip. A four-engine bomber needs more apron space, more ground crew, and a setting that feels appropriately busy without becoming cluttered.
The period and theater matter just as much. A U.S. Army Air Forces fighter in England can be framed by pierced steel planking, canvas equipment, and olive drab support vehicles. A Battle of Britain setting may call for grass, a narrow hardstanding area, and RAF ground personnel. A Pacific scene has a different visual language: sun-faded surfaces, dusty ground, improvised revetments, and equipment arranged for rough field conditions.
You do not need to recreate an exact squadron dispersal point to build an authentic scene. A historically plausible combination of aircraft markings, scale equipment, and airfield surface often delivers a more satisfying result than trying to force every detail into a tiny display. If you are reproducing a specific unit or date, research pays off. If the goal is a strong collector display, focus first on the visual logic of the scene.
Scale Comes Before the Base
Scale consistency is the first rule of a diorama. An outstanding 1/72 aircraft loses credibility beside 1/48 figures or a vehicle that is visibly undersized. Before choosing a runway panel, jeep, fuel bowser, or crew set, confirm the scale of the aircraft and every accessory around it.
For many collectors, 1/72 is the easiest entry point for WWII military aviation. It offers a large selection of aircraft and accessories while keeping the finished scene manageable for a shelf or desk. A fighter diorama can look complete on a relatively modest base, while a medium bomber can still be displayed without taking over the room.
Larger 1/48 aircraft bring exceptional presence and surface detail, but they demand more real estate. A 1/48 fighter with a service vehicle and three or four figures already makes a substantial display. That is not a drawback if your priority is a centerpiece model, but it does mean the base should be planned before you start buying supporting pieces.
Diecast collectors should also consider the model's landing gear, propeller clearance, and wing span. Some premium diecast releases are heavier than plastic kits and deserve a stable, flat base. Avoid crowded ground equipment near delicate antennas, pitot tubes, gun barrels, and extended control surfaces. The best display accessories frame the aircraft rather than competing with it.
Pick One Scene, Not Every Scene
A diorama needs a reason for the objects in it to be there. That reason can be simple. Perhaps the aircraft has just returned from a mission and a crew chief is inspecting it. Perhaps fuel and ammunition are being prepared before dawn. Perhaps the bomber is parked before a raid, with a tractor, bomb cart, and crew gathering nearby.
Choose one of these moments and let it control the layout. A refueling scene needs access to a fuel vehicle and an open service area. An arming scene benefits from ammunition carts or bomb trolleys, but it should not also include a fuel truck, maintenance stand, staff car, and a dozen unrelated figures. Operational realism comes from selective detail.
A useful first build often includes four elements: the aircraft, a suitable hardstanding or terrain base, one support vehicle or service item, and a small group of figures. That combination creates scale and activity without overwhelming a beginner. Add a second vehicle only when it has a clear job in the scene.
Build the Ground Up
The ground surface establishes the location before viewers even look at the aircraft. Concrete or paved aprons suit established British and American bases. Pierced steel planking, often associated with temporary wartime strips, gives a Pacific or expeditionary setting immediate character. Grass, dirt, mud, and crushed stone work particularly well for dispersed fighter operations and field airstrips.
Keep the finish believable. Perfectly clean concrete and uniformly bright grass can make an otherwise accurate aircraft look like it is sitting on a game board. Gentle tonal variation is more convincing than extreme weathering: tire marks, lightly stained parking areas, worn paths around access points, and patches of differently colored grass add scale without becoming theatrical.
The base should have breathing room around the model. On a fighter display, leave enough open ground ahead of the propeller and behind the tail to suggest a real parking area. Angle the aircraft slightly rather than placing it square to the base edges. A diagonal position creates movement and makes a compact scene feel larger.
For bombers, think in zones. The aircraft occupies the main area, while service equipment belongs near the appropriate access point. Place a fuel vehicle where a hose could reasonably reach. Put boarding steps near a crew entry door. Keep bomb carts or ammunition equipment clear of propeller arcs and pathways. These small decisions make a static model feel operational.
Use Figures and Equipment With Purpose
Figures are powerful because they establish scale instantly. One mechanic at an open engine panel or two crew members walking toward a cockpit can make an aircraft look dramatically larger and more alive. The trade-off is that poorly matched figures are easy to spot. Check scale, uniform style, and theater before adding them.
Poses should support the story. Standing figures in a loose line can look like they are waiting for a photograph, while a kneeling mechanic, a crewman carrying gear, or a driver beside a vehicle gives the scene direction. Fewer figures with intentional placement are usually stronger than a crowd.
Ground equipment deserves the same care. Wheel chocks, tool carts, ladders, fuel drums, bomb trailers, and maintenance stands are excellent finishing details, but their function should be obvious. Use them to create a natural visual path from the edge of the base toward the aircraft. Do not place every accessory parallel to the aircraft or evenly spaced across the ground. Real airfields are organized, but they are not symmetrical display shelves.
Let the Aircraft Remain the Hero
Collectors often find the rare aircraft first and build the scene afterward. That approach works well, provided the diorama supports the model's markings and character. A limited-production aircraft with historically significant squadron markings does not need an oversized base or heavy scenic treatment to command attention. Sometimes a restrained apron panel, one service vehicle, and a crew figure are exactly enough.
Color balance matters. If your aircraft wears a complex camouflage pattern, use quieter terrain and equipment tones. If it is a largely neutral bomber, a touch of color from markings, figures, or ground equipment can prevent the display from feeling flat. The goal is contrast that guides the eye back to the aircraft.
Lighting is another overlooked decision. Strong overhead light can produce harsh shadows around a propeller or landing gear, while a warm display light can bring out camouflage and panel detail. Before permanently positioning items, photograph the arrangement from normal viewing height. A camera quickly reveals awkward gaps, equipment that blocks the model, and figures that appear to stare in the wrong direction.
A Starter Scene Worth Expanding
Your first WWII aircraft diorama does not have to be your most complex. It should be a display you can refine as new aircraft, vehicles, and accessories join the collection. Begin with a base that suits one model well, then add only the pieces that improve the story. Flight Deck Models collectors often find that a carefully chosen aircraft and coordinated display accessories create more impact than a larger scene assembled all at once.
Leave a little room for the next detail you discover: a period-correct tug, a ground crew set, a better apron panel, or an aircraft whose markings fit the same airfield. A strong diorama is never just scenery beneath a model. It is a place where a piece of aviation history can keep happening.


Comments